 Nexviora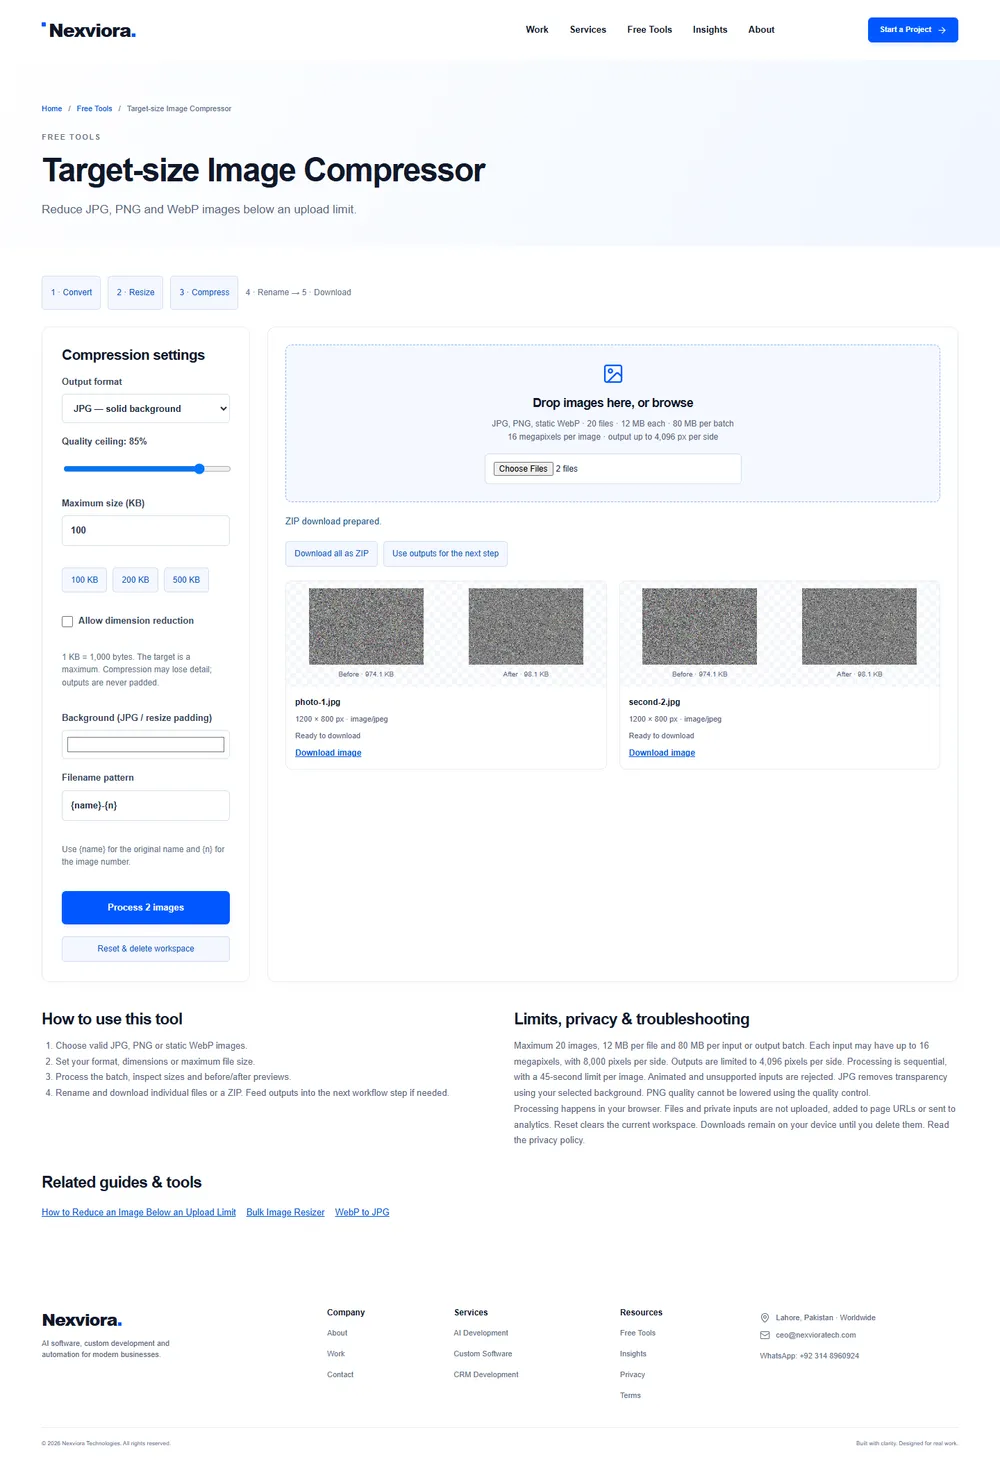
Start with the actual requirement
Check the permitted format, maximum file size and required dimensions. In our tool, 1 KB means 1,000 bytes. A portal using 1,024 bytes per KB may report a different value. Aim below its limit.
Try quality before dimensions
Select JPG or WebP for a photograph, set a maximum such as 100 KB, and process one image first. The tool searches for quality within your selected ceiling. Lower quality is lossy: inspect small text and faces before submitting.
Reduce dimensions when needed
Enable dimension reduction if the maximum cannot be met. The tool preserves the aspect ratio while trying smaller images. If a portal requires exact dimensions, use the resizer first and avoid reducing dimensions afterward.
Check the result
Read the actual output size and inspect the preview. An output marked above target does not meet your maximum. Try a different format or fewer pixels; we never pad a file to an exact size.